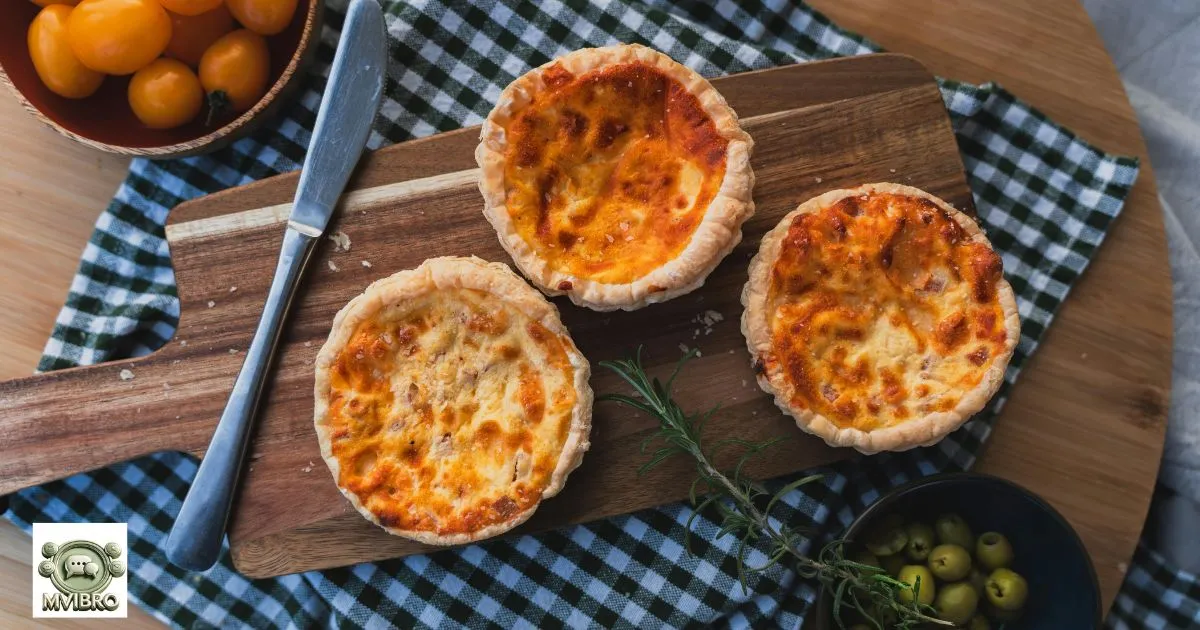
There’s something undeniably comforting about a freshly baked quiche. The way the egg custard puffs gently in the oven, the aroma of melting cheese mingling with savory fillings, and the satisfying slice that reveals a perfectly set interior — it’s pure culinary joy. But if you’ve ever been put off by the idea of making quiche because of the pastry crust, this Bisquick Quiche Recipe is here to change your mind.
With just a handful of ingredients, no rolling pins, and zero blind-baking, you can create a quiche that is light, custardy, and full of flavor. Bisquick acts as the secret ingredient, replacing the need for a traditional crust while still providing structure and a slightly hearty bite. The result is a versatile, make-ahead dish that works for breakfast, brunch, lunch, or even a light dinner.
Why Choose Bisquick for Quiche?
Traditional quiche recipes often involve making or purchasing pie crust — a step that can add time, extra ingredients, and sometimes intimidation for beginner cooks. By using Bisquick baking mix, you eliminate the crust while still enjoying a firm, sliceable base. As the quiche bakes, the Bisquick settles slightly and creates a texture that mimics the stability of a crust without the extra work.
This method has been a home cook’s favorite for decades because:
- It’s quick — everything mixes in one bowl, then goes straight into the oven.
- It’s flexible — you can use whatever meats, cheeses, and vegetables you have on hand.
- It’s reliable — the structure sets beautifully every time.
- It’s family-friendly — mild flavor with endless room for customization.
Whether you’re hosting a weekend brunch or making weekday meal-prep portions, this recipe guarantees a consistently delicious result.
Ingredients You’ll Need
Here’s the foundation for a classic Bisquick quiche, along with professional tips for best results:
| Ingredient | US Measurement | Metric Measurement | Professional Tips |
| Large eggs | 4 | — | Use room-temperature eggs for even mixing and a lighter texture |
| Milk | 1 cup | 240 ml | Whole milk gives a creamier custard; use half-and-half for richer flavor |
| Bisquick baking mix | ½ cup | 60 g | Original or gluten-free Bisquick both work well |
| Shredded cheese | 1 cup | 115 g | Sharp cheddar, Swiss, or a blend adds depth |
| Cooked bacon or ham | 1 cup | ~150 g | Ensure meats are fully cooked and cooled before adding |
| Onion | ½ cup | 60 g | Finely dice to avoid overpowering bites |
| Salt | ½ tsp | 3 g | Adjust to taste, especially if using salty meats |
| Black pepper | ¼ tsp | 1 g | Freshly ground for better flavor |
| Optional add-ins | — | — | Spinach, mushrooms, bell peppers, or fresh herbs |
Step-by-Step Method
Step 1: Prepare Your Dish
Preheat the oven to 350°F (175°C). Lightly grease a 9-inch pie dish or deep tart pan with butter or cooking spray. This prevents sticking and ensures clean slices when serving.
Step 2: Whisk the Eggs and Milk
In a large mixing bowl, whisk together the eggs and milk until fully combined. The goal here is to incorporate air for a lighter custard, but not so much that it becomes frothy.
Step 3: Add the Bisquick
Sprinkle the Bisquick evenly into the egg mixture, whisking gently until it’s just incorporated. Overmixing at this stage can make the quiche denser, so stop once the batter looks uniform.
Step 4: Fold in Fillings
Add your cheese, cooked meats, onions, and any vegetables you’re using. Stir just enough to distribute them evenly throughout the batter.
Step 5: Season
Season with salt, pepper, and any fresh herbs. Remember that ingredients like bacon and certain cheeses already contain salt, so adjust accordingly.
Step 6: Pour and Bake
Pour the mixture into your prepared dish, spreading it evenly. Bake on the center rack for 35–40 minutes, or until the quiche is golden on top and a knife inserted into the center comes out clean.
Step 7: Rest Before Serving
Allow the quiche to cool for at least 5–10 minutes before slicing. This resting period helps the custard set fully, making for cleaner slices.
Pro Tips from the Kitchen
- Avoid watery vegetables by pre-sautéing them before adding to the batter. This step prevents excess moisture from disrupting the custard.
- Layer cheese strategically — a little on the bottom and top helps create a balanced texture.
- Test for doneness — if the center jiggles significantly, bake for an extra 3–5 minutes.
- Use a sharp knife for slicing to maintain neat edges.
Flavor Variations to Try
One of the best things about Bisquick quiche is its adaptability. Once you master the base recipe, you can create endless flavor profiles:
- Quiche Lorraine Style – Crispy bacon, Swiss cheese, and a hint of nutmeg for a traditional touch.
- Mediterranean Delight – Spinach, sun-dried tomatoes, feta, and a sprinkle of oregano.
- Southwest Kick – Cooked chorizo, pepper jack cheese, diced jalapeños, and fresh cilantro.
- Vegetable Supreme – Zucchini, mushrooms, onions, and bell peppers with cheddar cheese.
- Seafood Twist – Cooked shrimp or crab meat with Gruyère and fresh dill.
Serving Suggestions
Serve your Bisquick quiche warm, at room temperature, or even chilled — it’s delicious in any form. Pair it with:
- A fresh green salad for a balanced lunch.
- Fruit salad or melon wedges for a bright brunch spread.
- A cup of soup on cooler days for a comforting dinner.
For gatherings, slice into smaller wedges and serve as part of a buffet alongside pastries, muffins, and fresh juice.
Storage & Make-Ahead Tips
Quiche is an excellent make-ahead option. Once baked, let it cool completely before storing:
- Refrigerator: Wrap in foil or store in an airtight container for up to 4 days.
- Freezer: Wrap slices individually in foil, then place in a freezer bag. Freeze for up to 2 months.
- Reheat: Bake at 300°F (150°C) until warm, or microwave in short intervals to avoid drying out.
You can also assemble the unbaked mixture the night before, cover tightly, and refrigerate. In the morning, simply bake as directed.
Nutrition Information (Per Slice, 8 Servings)
- Calories: ~210 kcal
- Protein: 12 g
- Carbohydrates: 9 g
- Fat: 14 g
- Fiber: 1 g
These values will vary depending on your choice of cheese, milk, and add-ins.
Key insight
Q: Can I make Bisquick quiche without meat?
Absolutely — simply load it with your favorite vegetables and perhaps an extra sprinkle of cheese for richness.
Q: How do I keep my quiche from being soggy?
Pre-cook watery vegetables and drain any excess liquid from meats before adding to the batter.
Q: Can I use almond milk or soy milk instead of dairy?
Yes, plant-based milks work well, though the texture may be slightly less creamy.
Q: Is Bisquick gluten-free?
The original version contains gluten, but there is a gluten-free Bisquick available that works perfectly in this recipe.
Final Thoughts
This Bisquick Quiche Recipe proves that you can enjoy a restaurant-quality quiche without the stress of making a crust. It’s quick, flexible, and endlessly customizable — perfect for everything from casual breakfasts to elegant brunches.
With its light yet satisfying texture, a balance of savory fillings, and a method so simple anyone can master it, this is one recipe worth keeping in your rotation. Whether you stick with the classic or experiment with bold new flavor combinations, you’ll have a dish that impresses every time.
Related Post:
Perfect Apple Fritters Recipe for Breakfast

Hi! I’m Jane Austen, blending timeless wit with modern flair on mvibro.com, creating refined responses and charming comebacks for every occasion.

